Traditional Drawing 1 materials needed for the course.
NOTE: Materials are personal. Once you have materials that satisfy the criteria of the course, you should choose the materials that you love to work with. Different people love different things. Find the tools that work for you. The materials used to perform the required projects Drawing 1, Structural Geometry course are designed for speed, to enable the student to work FAST! Also the markers are very direct and unforgiving, exposing errors or failed attempts. This is desirable, because it reveals the mistakes. When we see repeated mistakes we can isolate them and begin correcting the patterns that lead to repeating the same mistakes. Drawing 1 is focused on developing an understanding of structural wire frame drawing to scale and appling 3d form through the use of 6 different tonal values: 1. Highlights 2. Light 3. Shadow 4. Core shadow 5. Cast shadow 6. bounced light.

Fine liners must be bleed-proof. They come in many forms and brands. You must choose one that you love to work with. It is your detailer and your contour line.
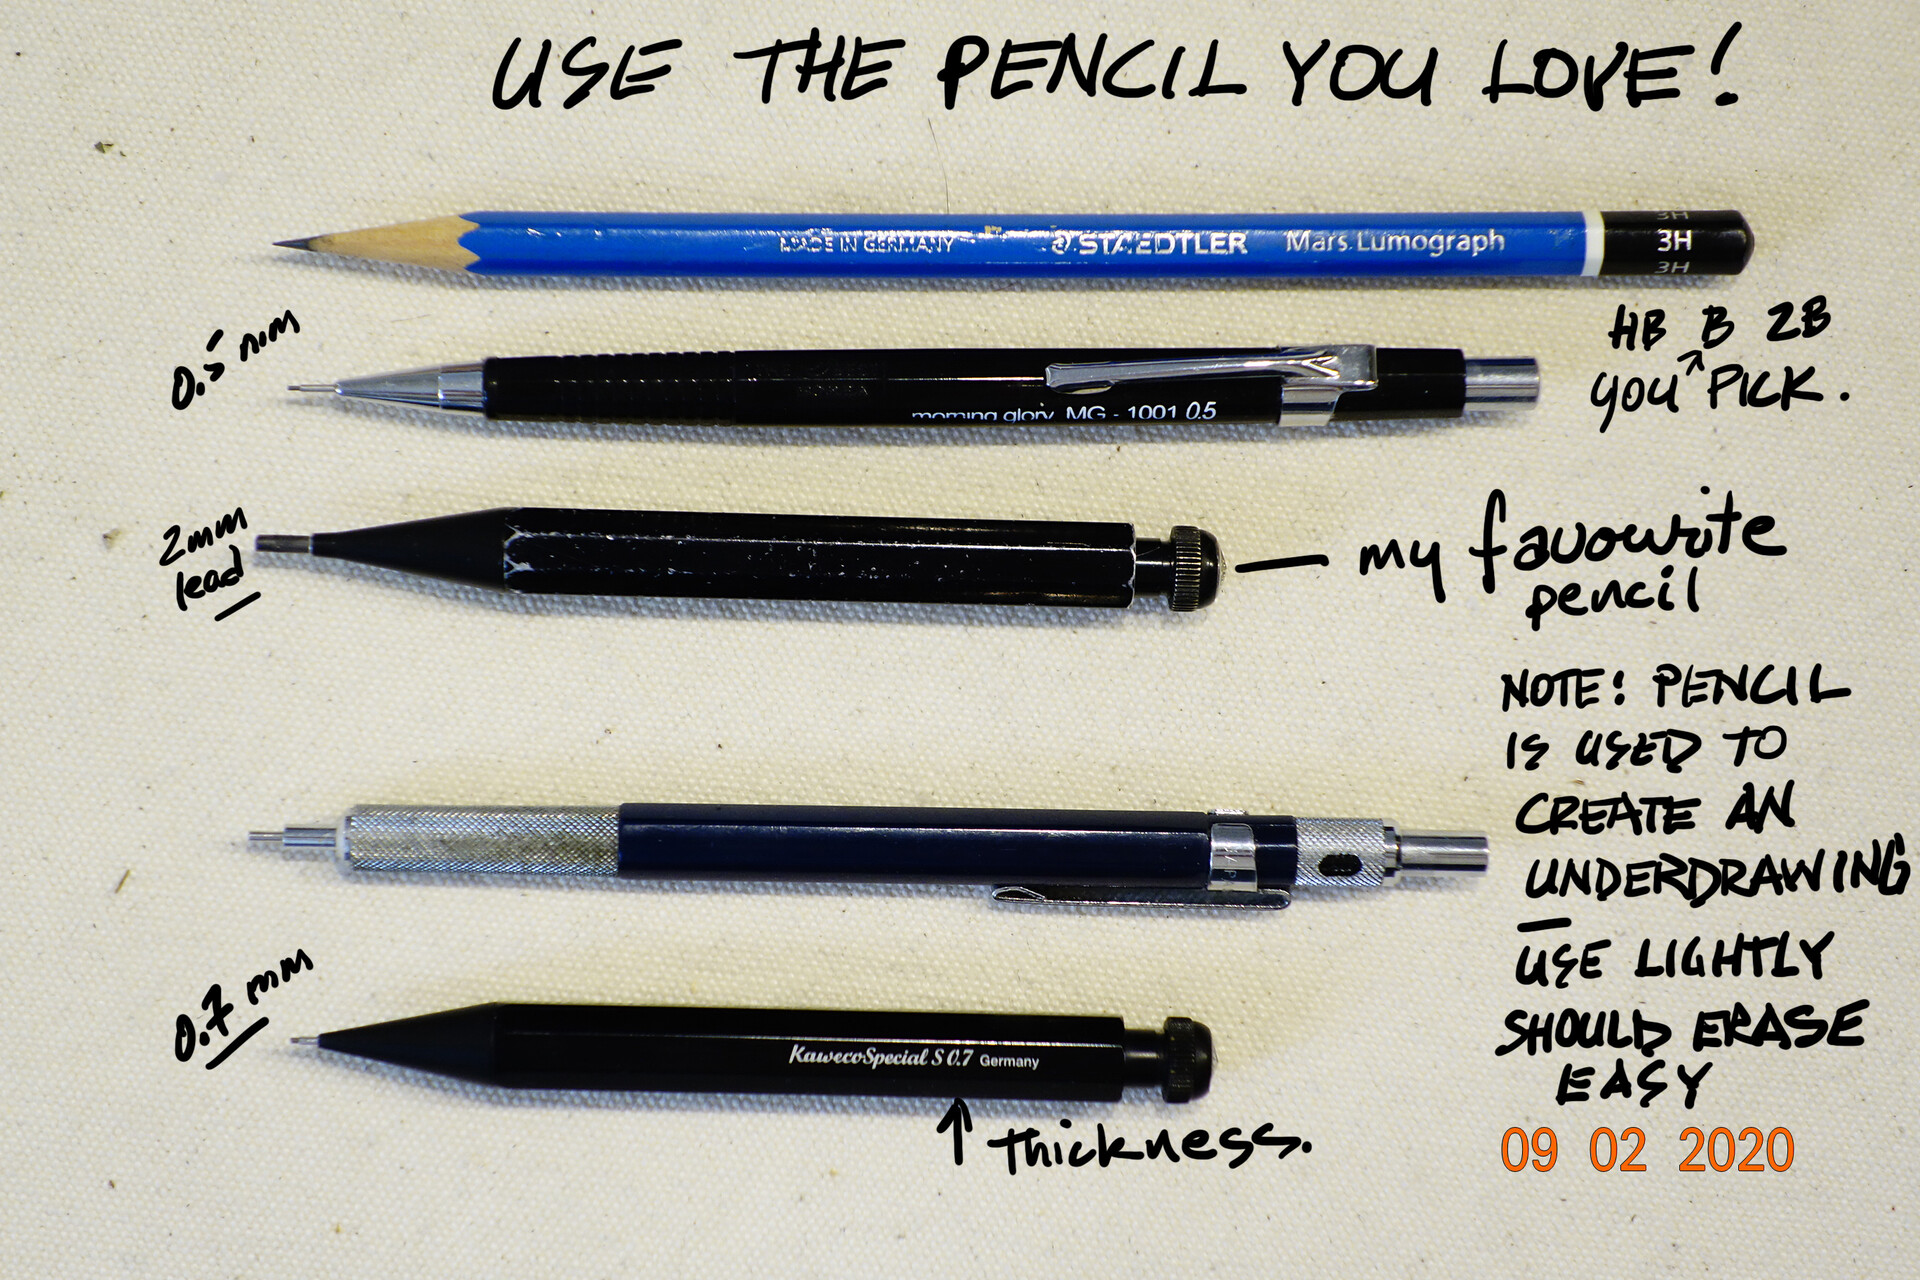
I love to use 2mm mechanical pencils. Other artist prefer to use .05 mm leads because it give you a finer line. regardless you do need a pencil of your choice to do some under drawing that after the drawing is inked you can easily erase.
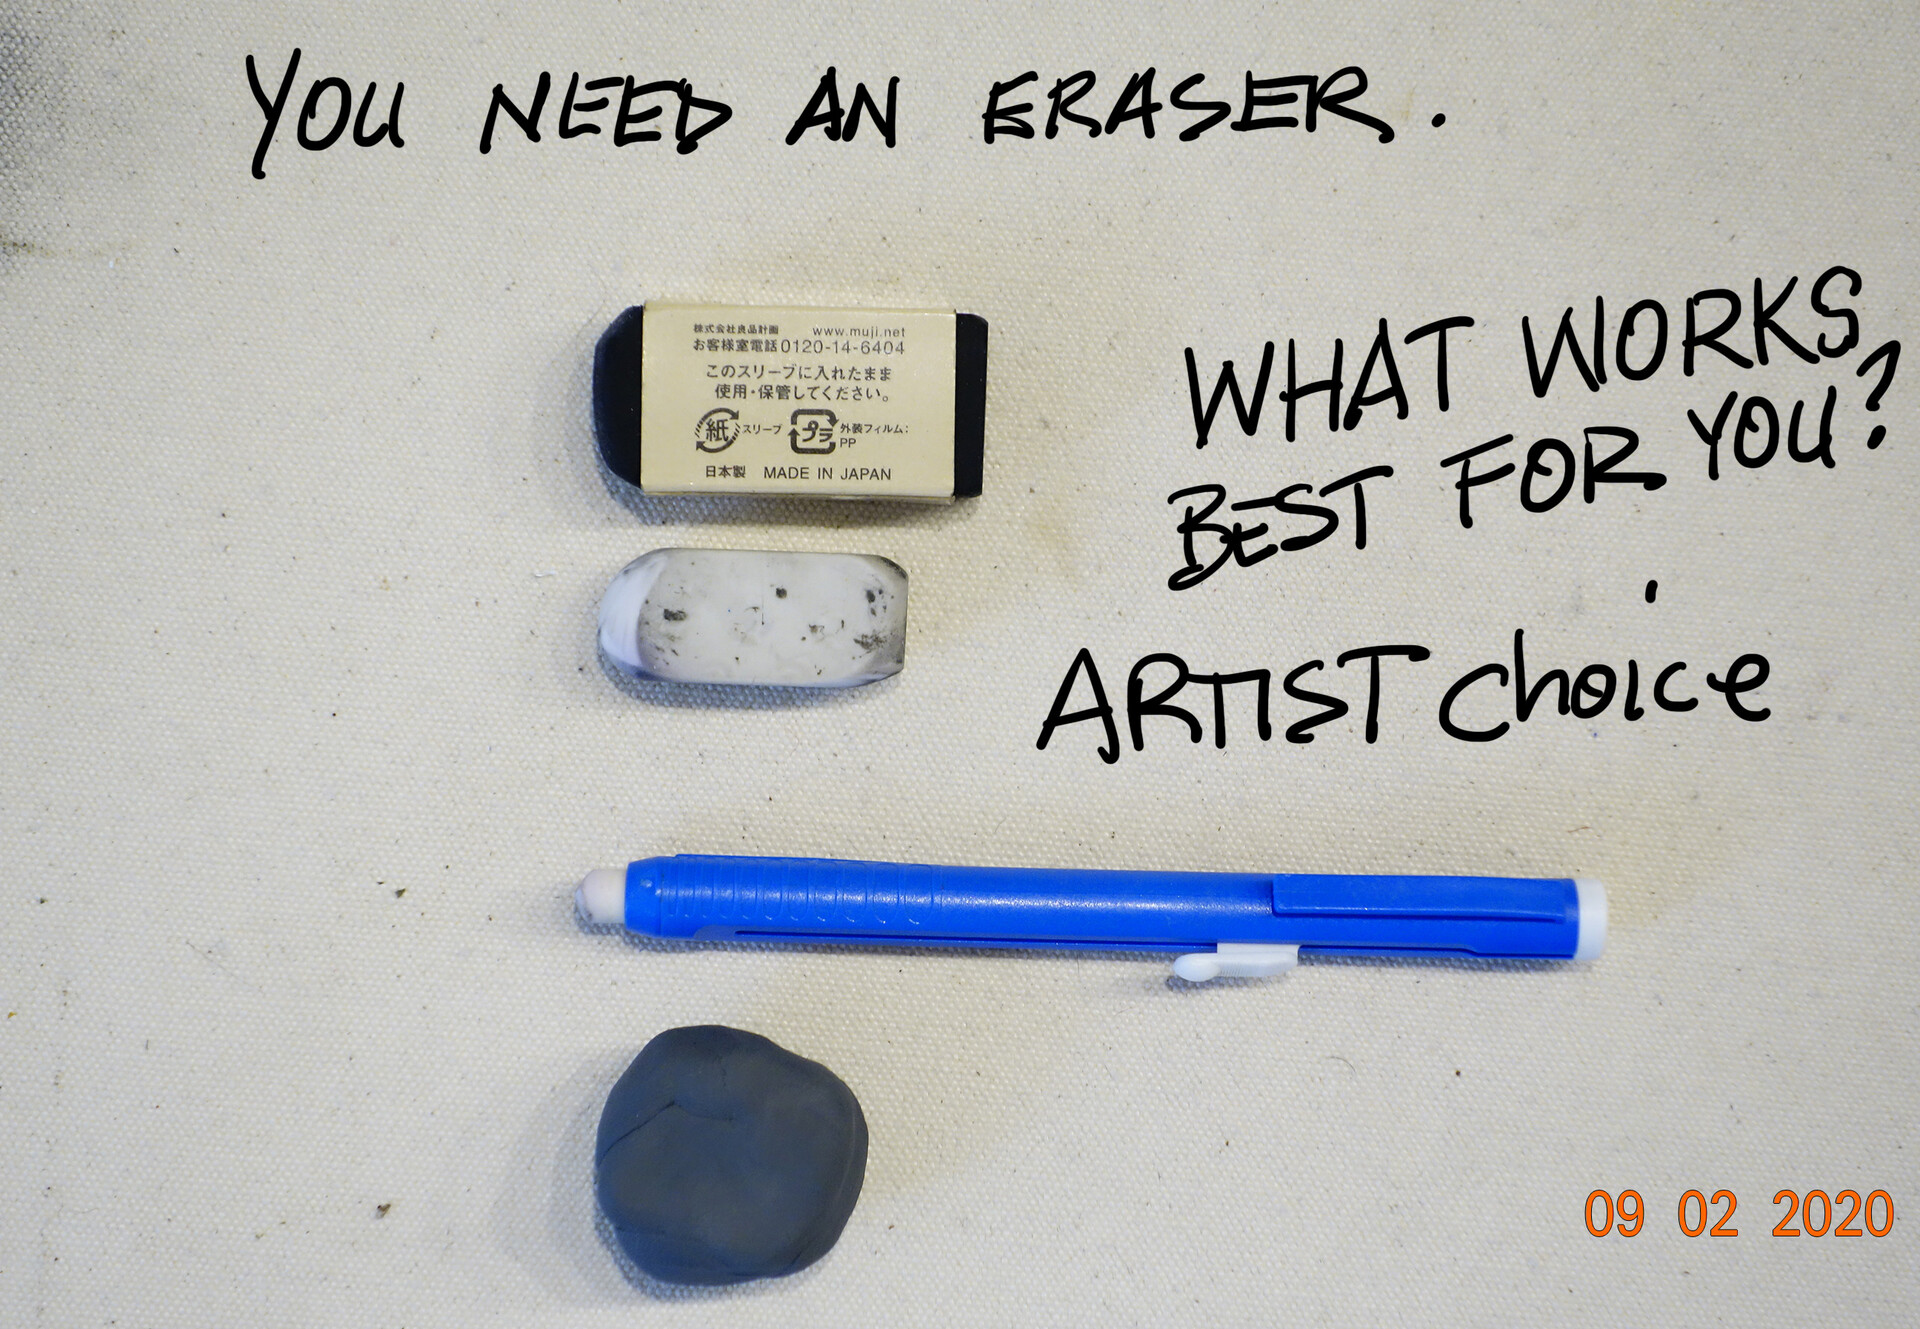
Get an eraser that works for you. I like the rubber kind and the eraser tubes that go in holders for detailed and tights spots. You are the artist you decide.

Remember that for drawing 1 you only need a black and white pencil crayon. Use soft coloured pencils. they are better for quick, single stroke application. Derwent Coloursoft are a great example of this type of pencil.

For Drawing 2 you will need a full set of coloured pencil crayons. You can in some art stores by these crayons and other brands individually.
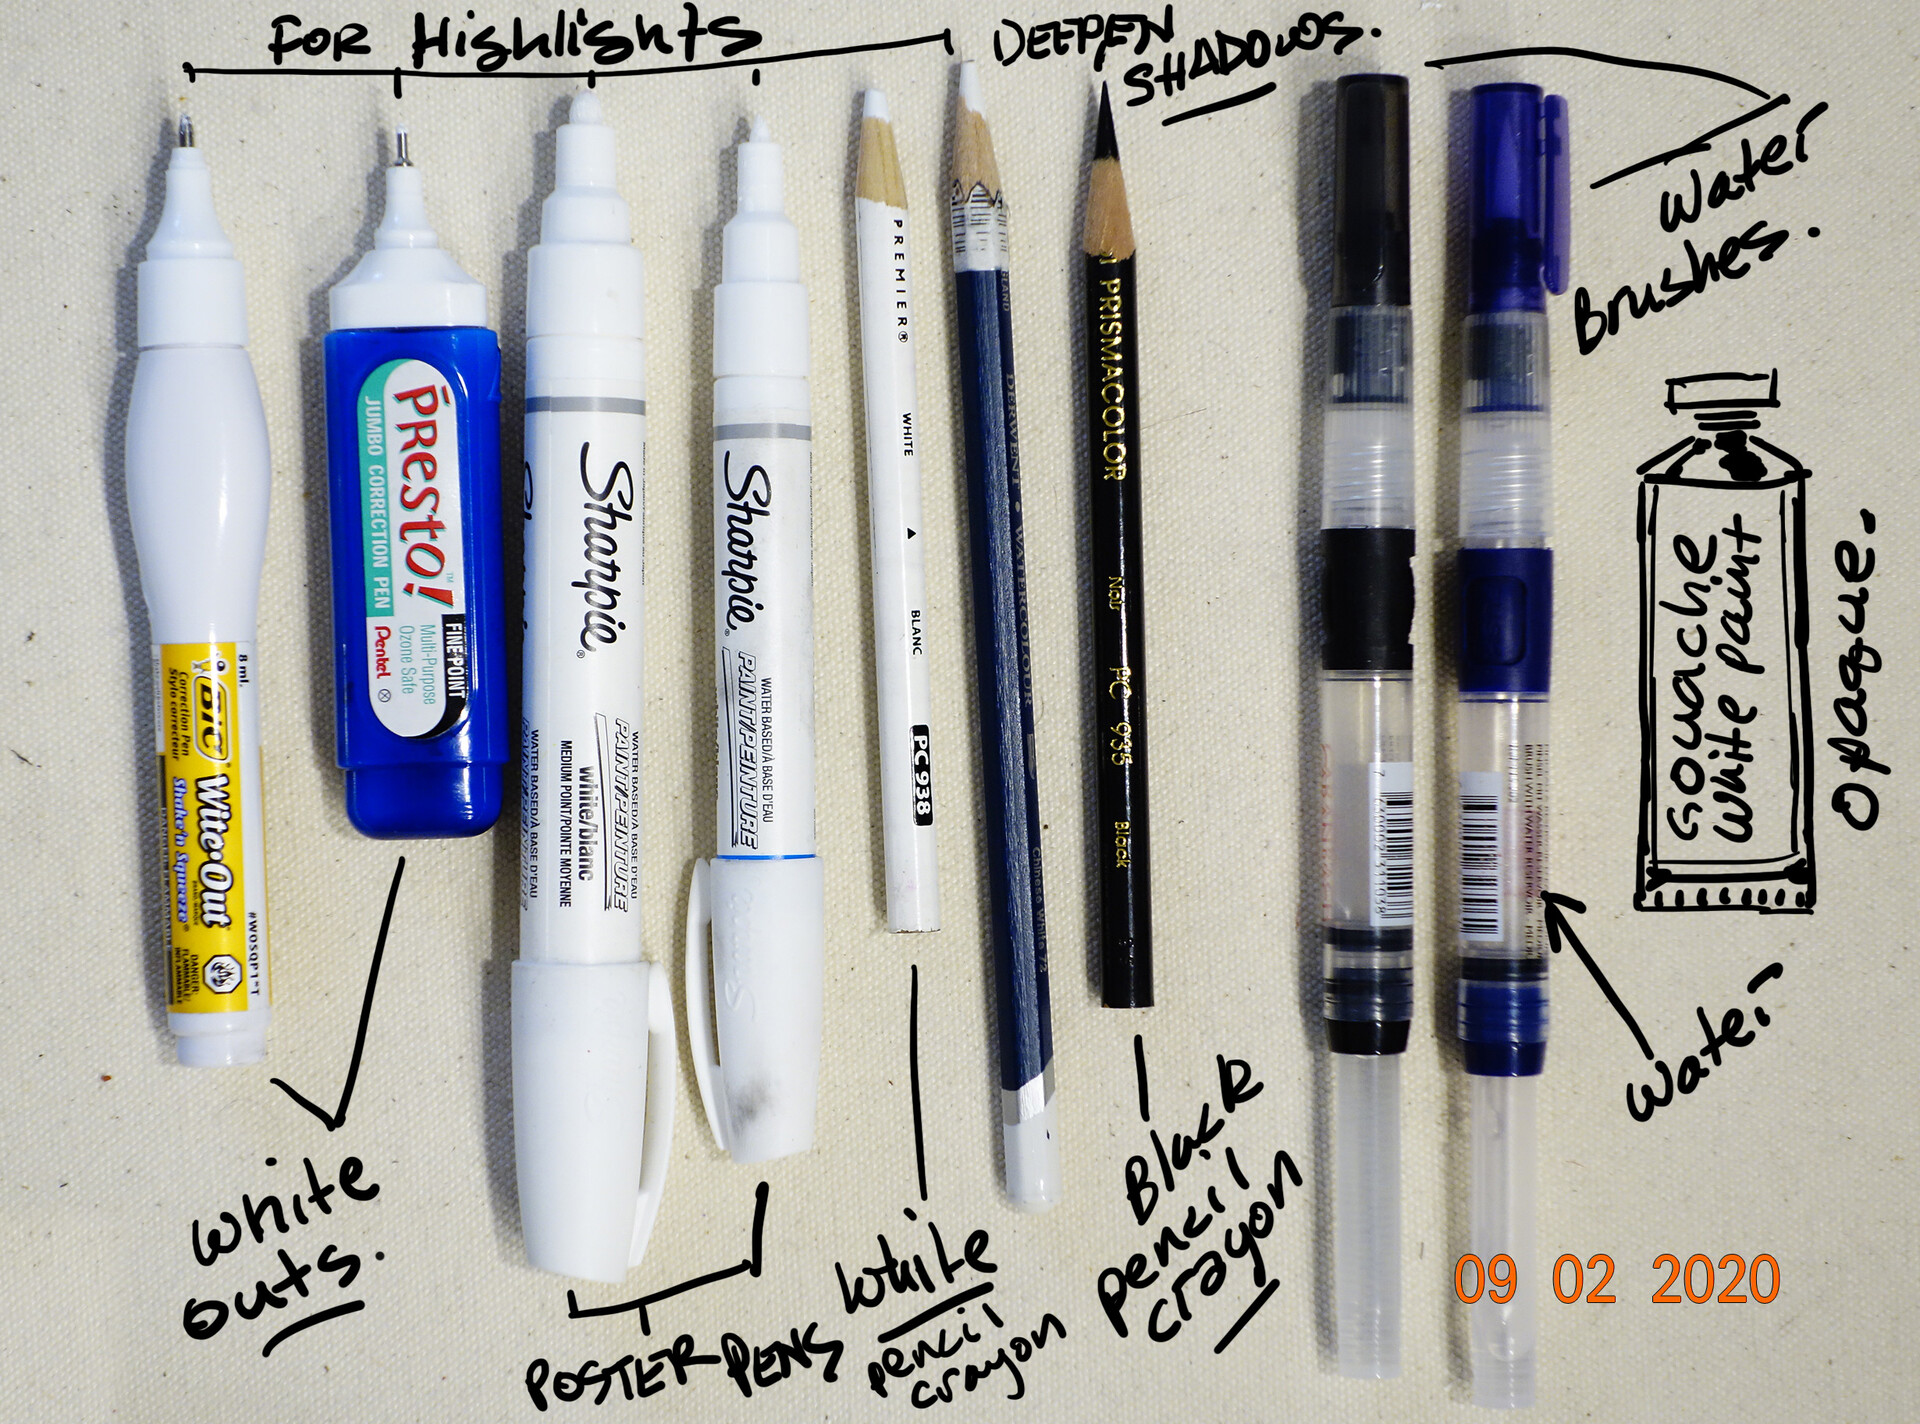
In addition to your white and black pencil crayon, if your budget permits, white out pens and poster paint makers are ideal for brighter highlights, because they are opaque.
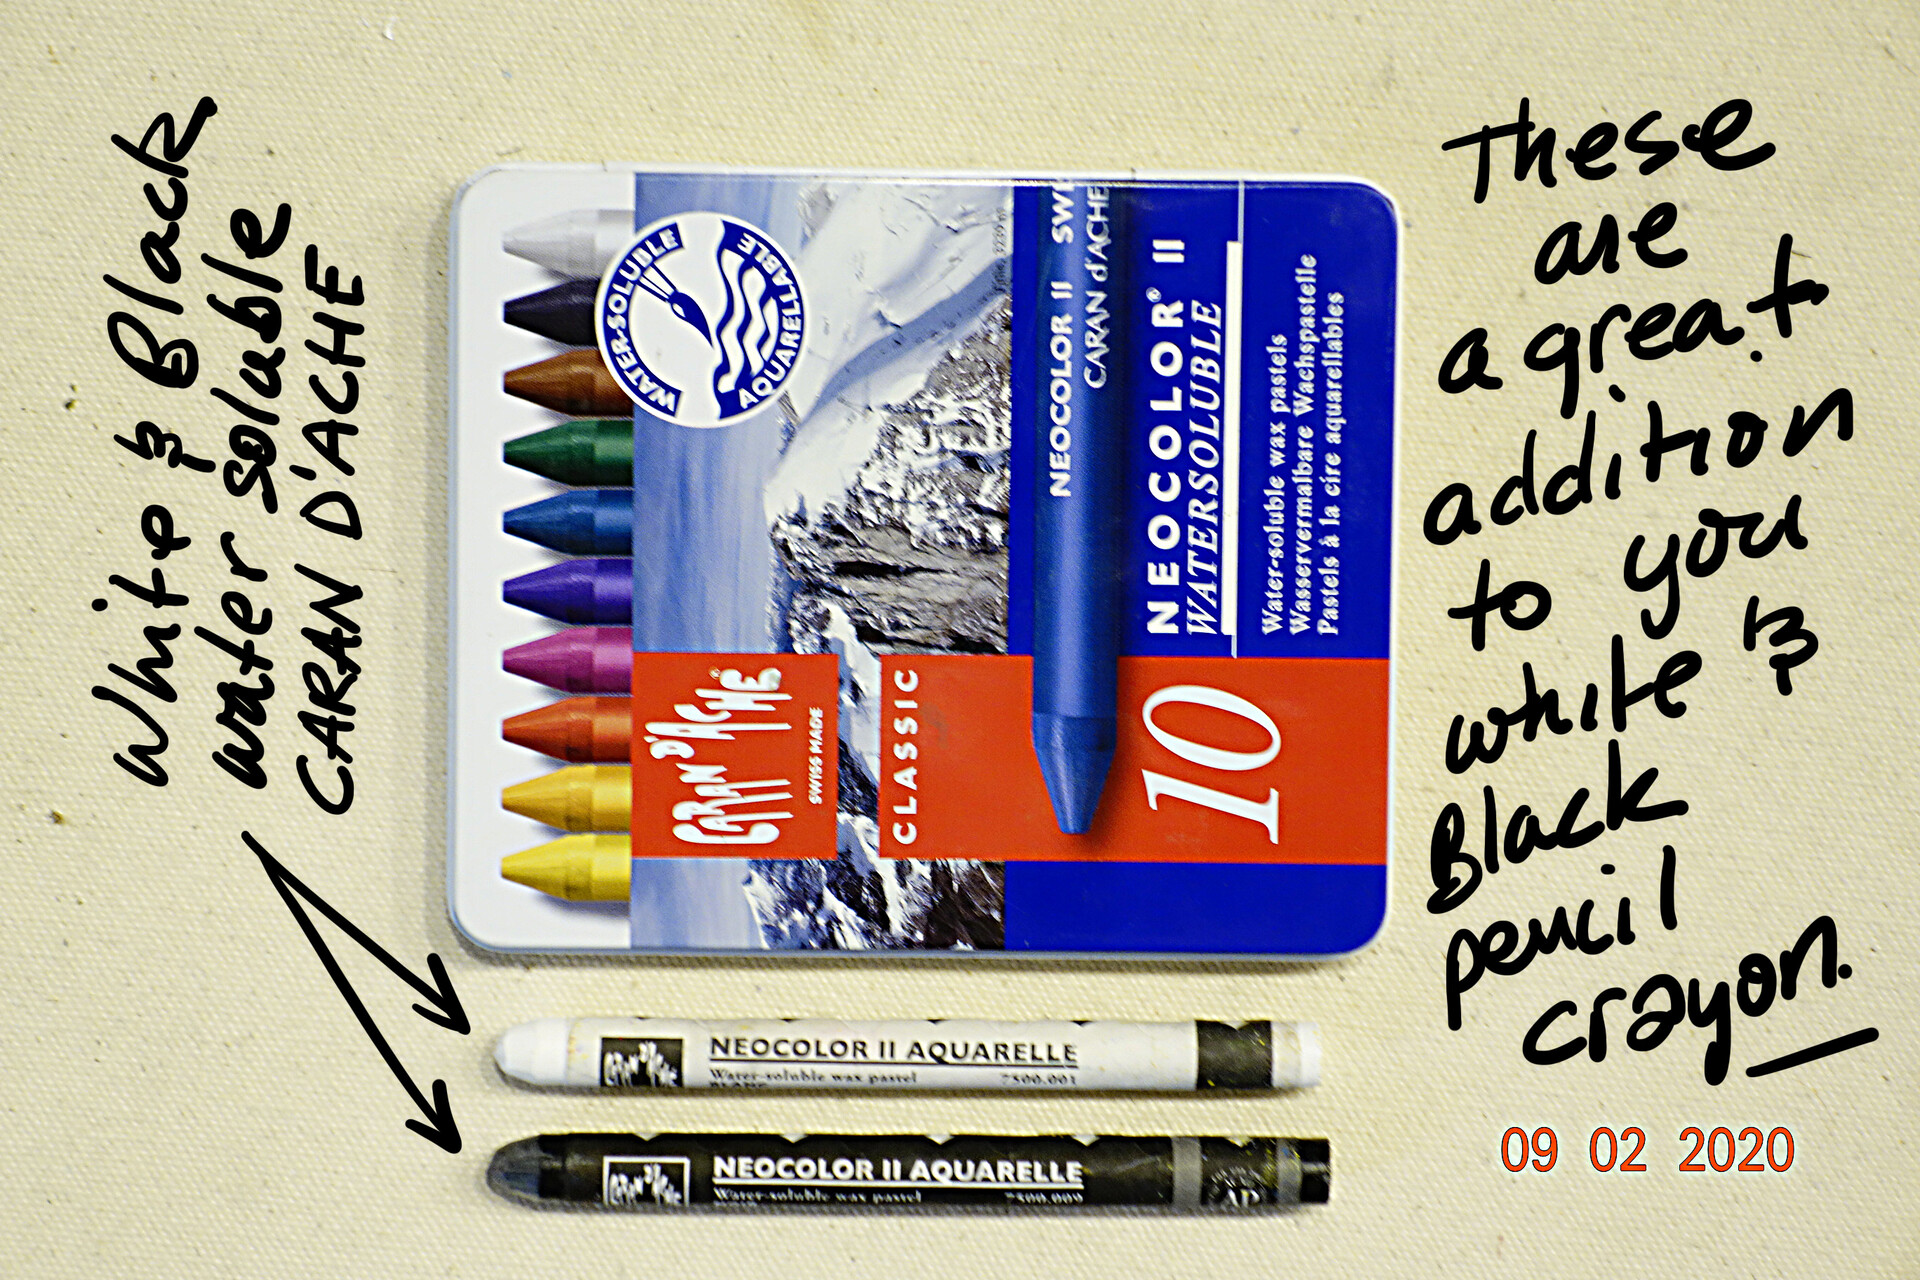
Not essential but a great addition CARAN D'ACHE water soluble crayons. These can be used with water brushes for bigger areas and deepening highlights and shadows.
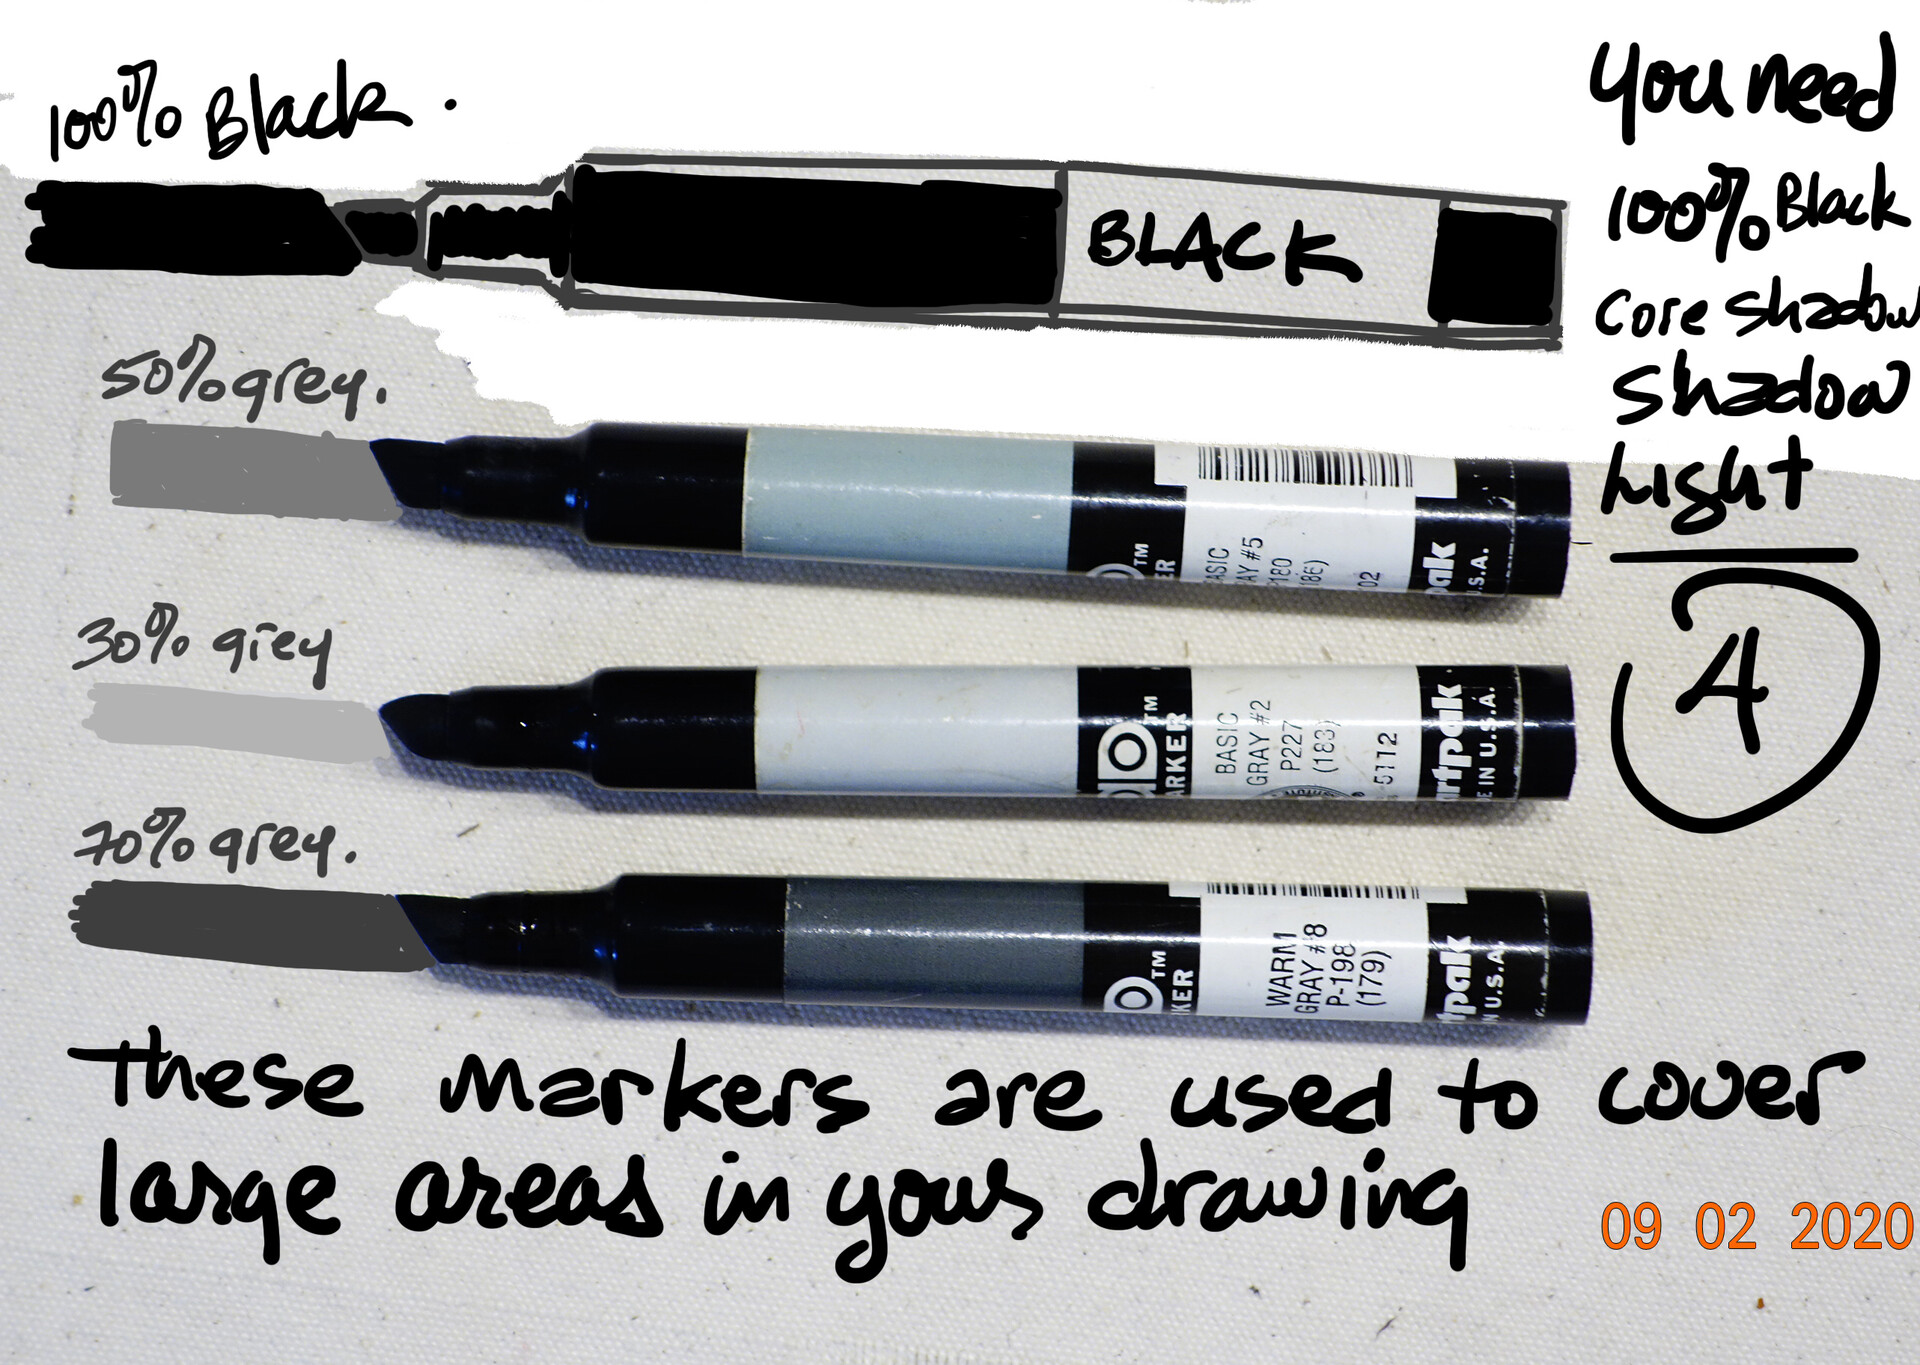
4 Chunky markers for covering large areas. Four values are needed. 1. a Light 30% 2. A Shadow 50%, 3. A Core Shadow 70%, 4. A Cast Shadow 100% black. These markers are transparent. Like watercolours you see through them.

CHARTPAK, my preferred marker. AN all in one nib that creates a wide line and the thin line. Durable and easy to refill . Chartpak AD Markers are known for their "juicy" ink capacity, which means the. WARNING the use a Xylene (Solvent):
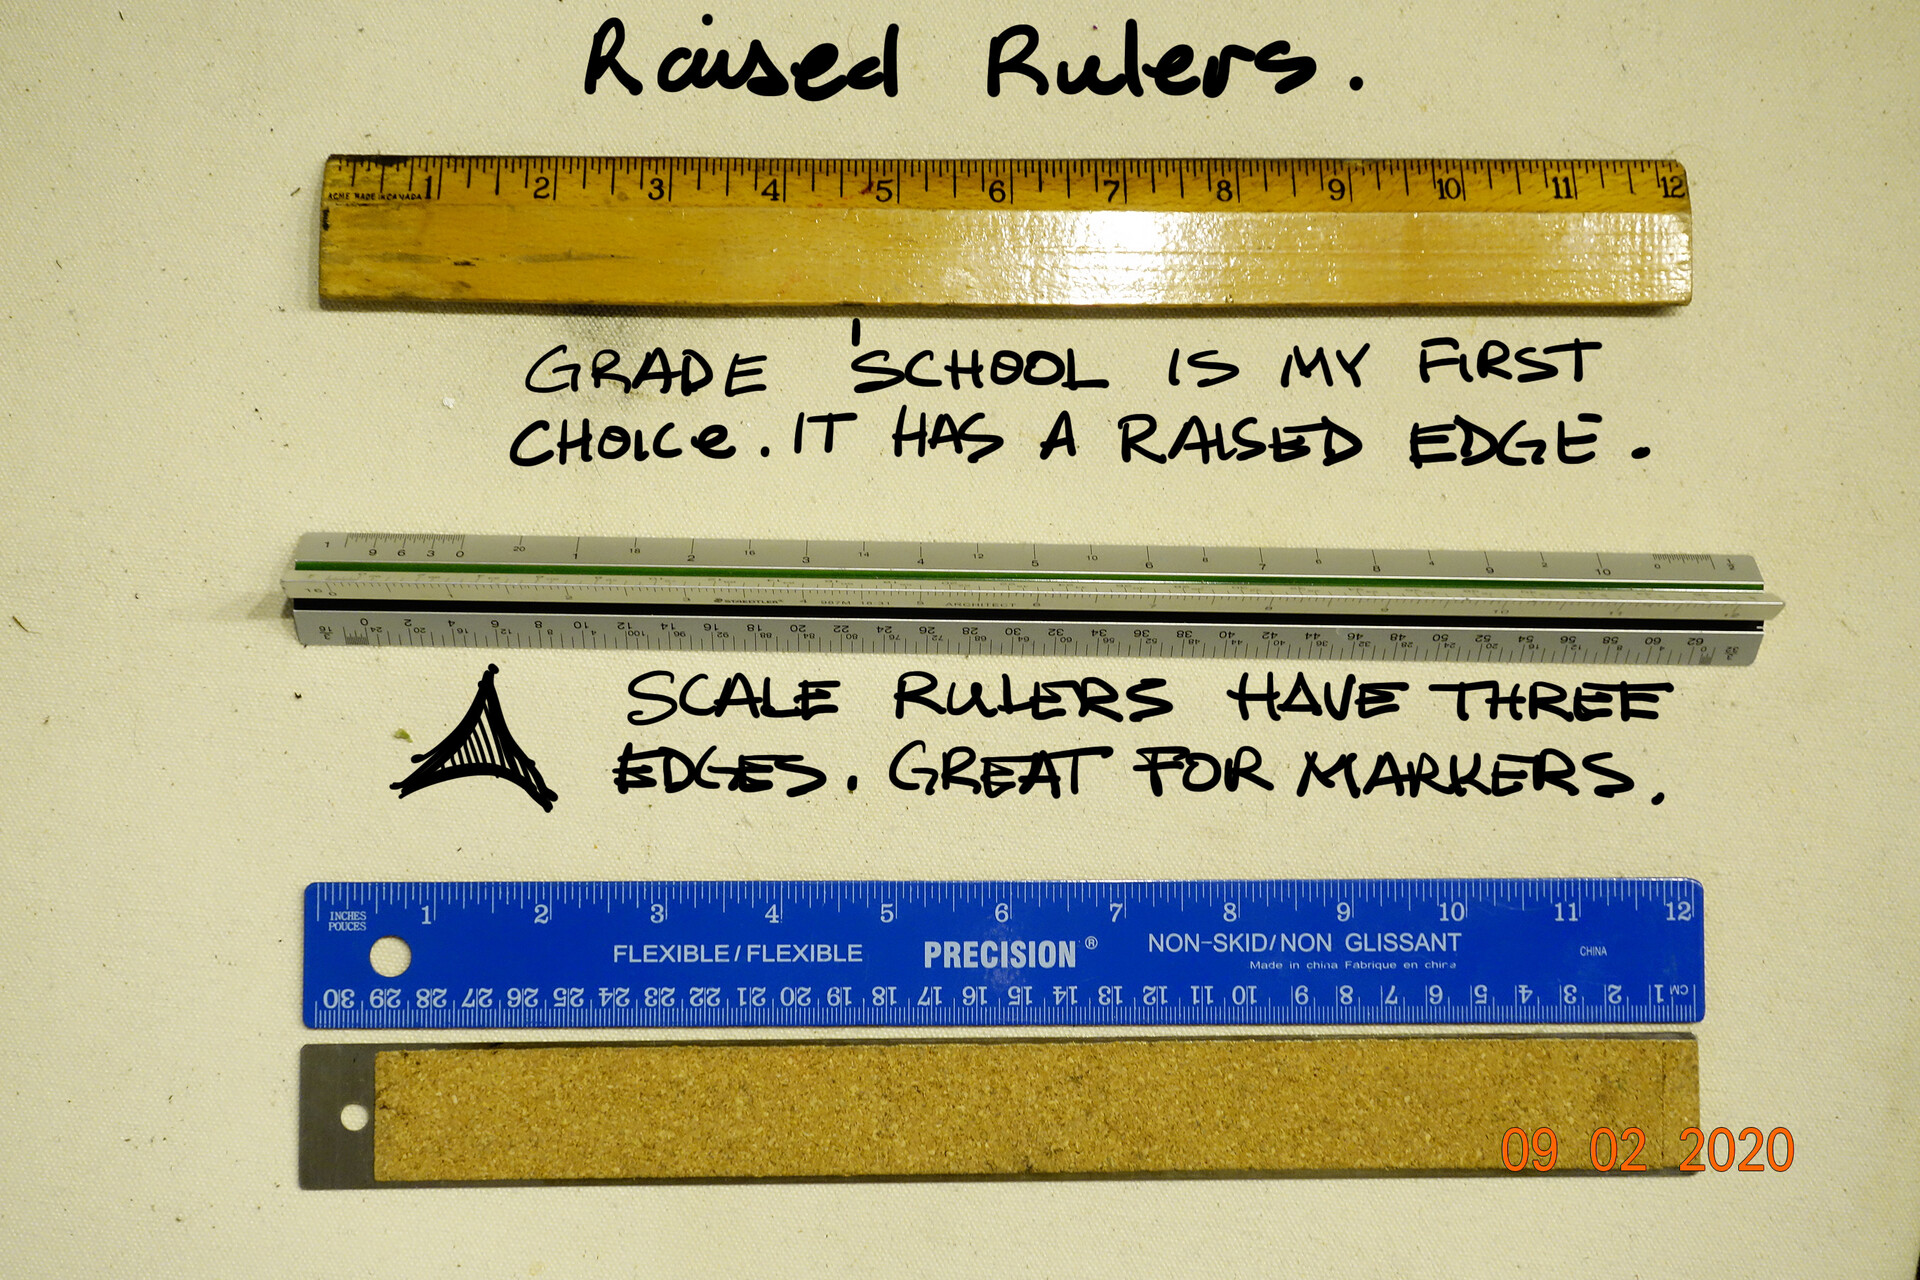
We use rulers for more than just measuring. They ruler is also used as a bridge. When drawing a straight line with a brush or ink marker, a shaped ruler that is raised is needed for detailing.

A palm sized set square with a raised edge. A raised edge prevents markers from smearing.
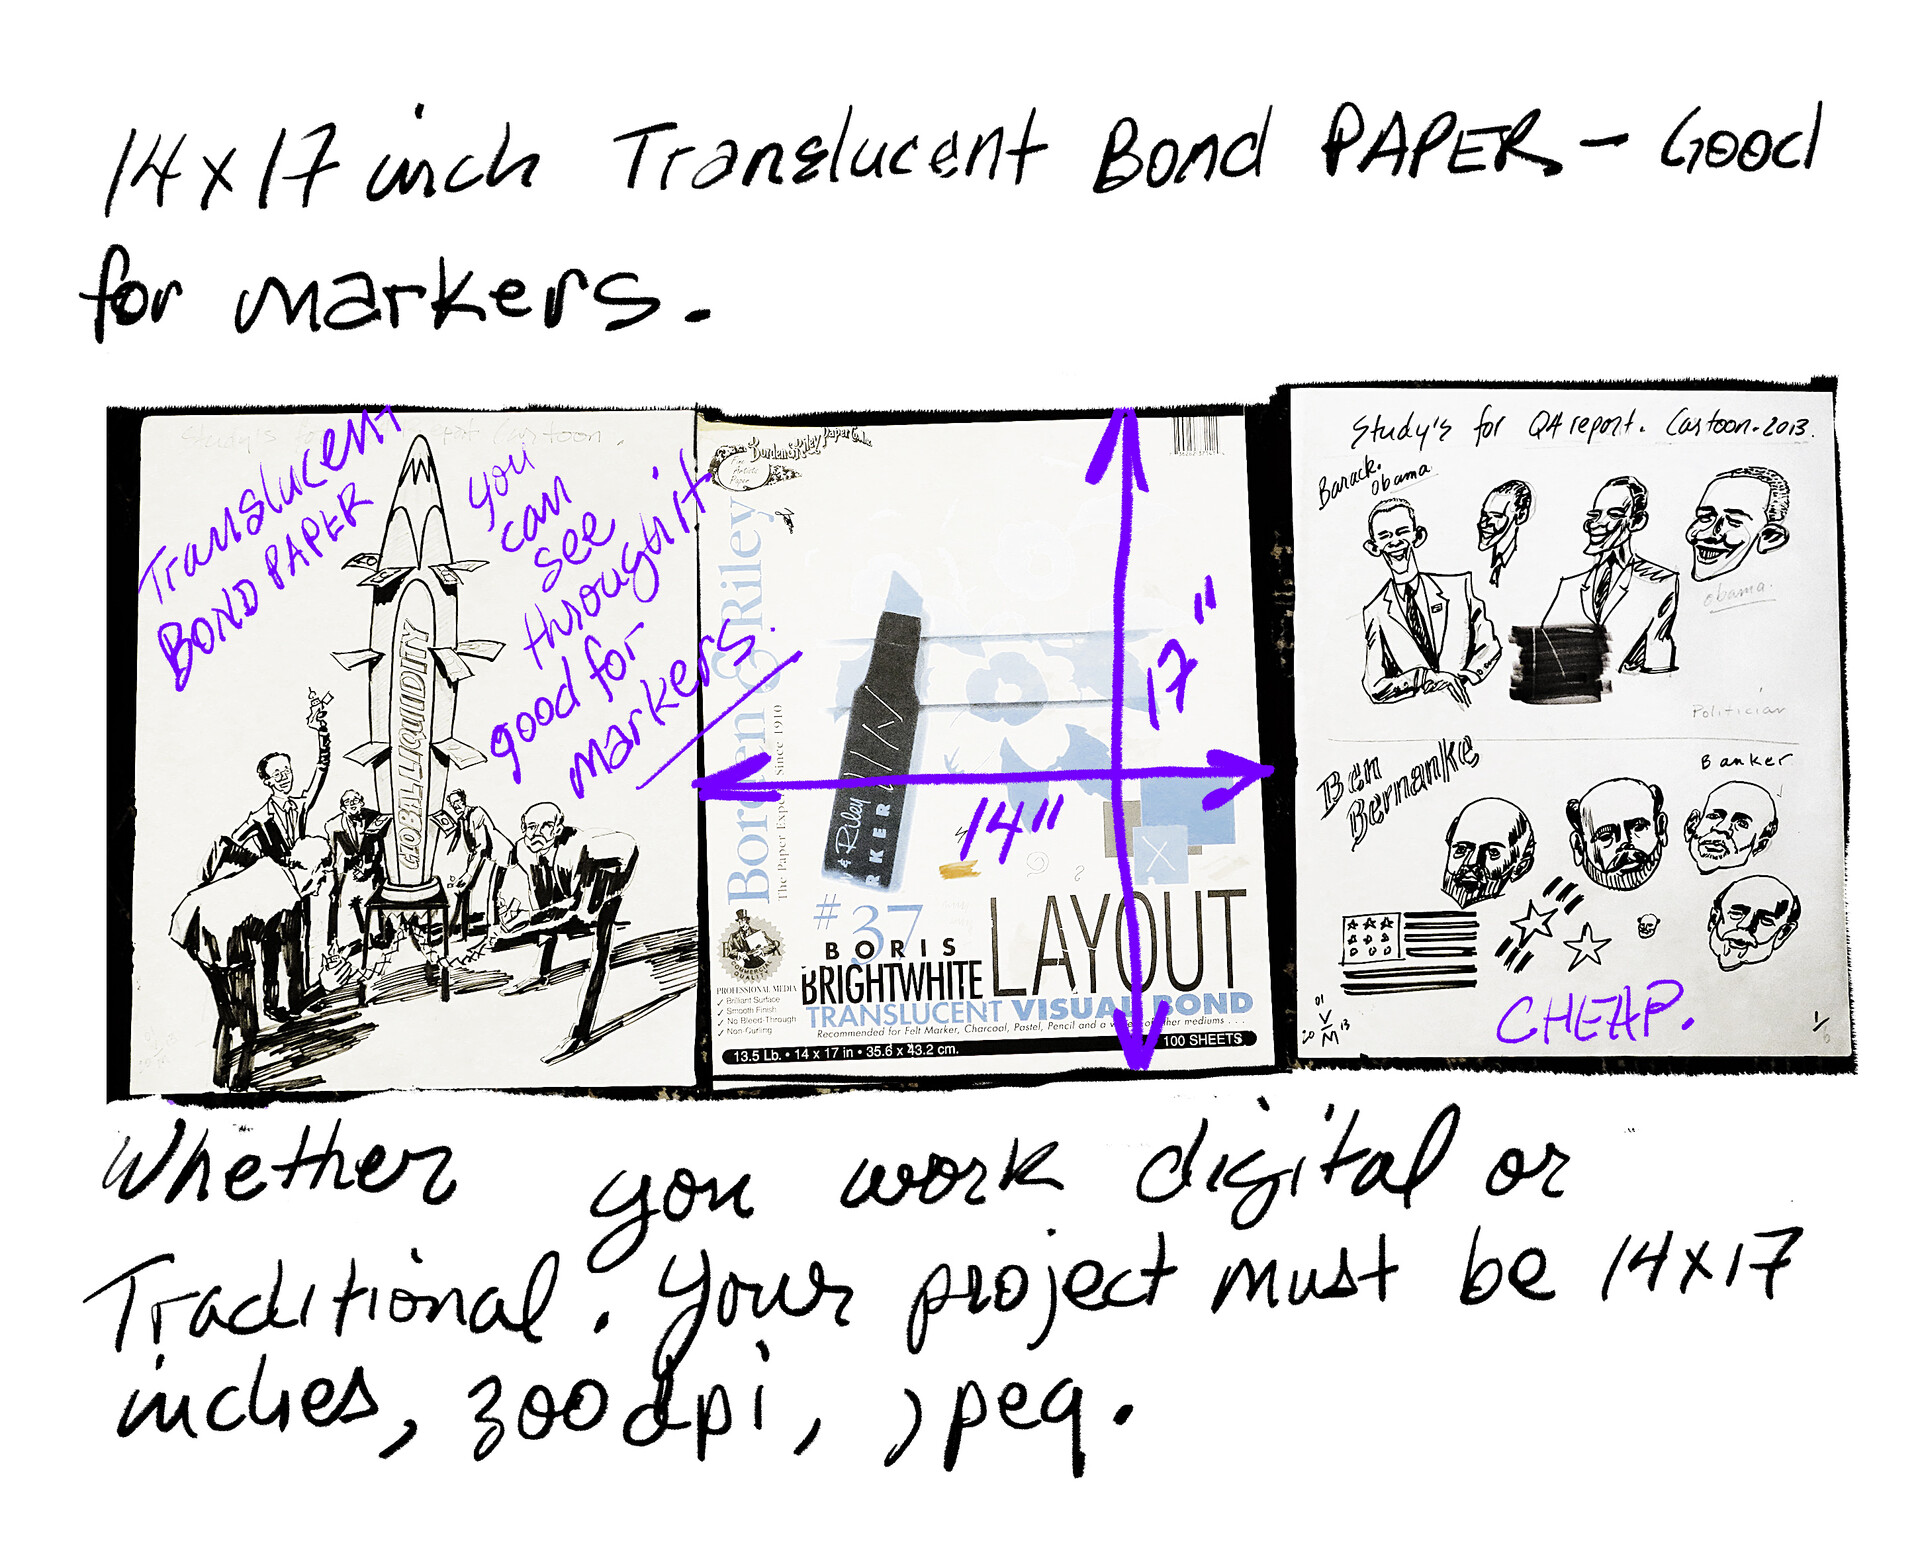
A Translucent bond pad 14x17 inches for markers. A good size for drawing comfortable and doing a lot on one page.
Live Demo of how to blend markers and the various materials you can use to enrich your drawings.
How to blend markers.
How to blend markers.